The Ultimate Beginner’s Tool Guide (or at least what I use)
One thing about me is I have an obsessive personality. One day in the summertime I saw a Tiktok posted by a bookbinder, and that’s all it took. I decided right then and there that I would pour everything into this hobby and one day open up a website, and that’s exactly what I did. I’m not exaggerating when I say bookbinding consumed my thoughts for a month straight. Ask my husband—sometimes I wouldn’t be able to fall asleep because I couldn’t stop thinking about this new hobby of mine.
That being said, I am not flush with cash. I decided to buy everything I needed all at once, but I had to be mindful about which tools to splurge on, and which tools could be cheap. My goal with this guide is to give you an idea of what tools you will need, which to prioritize, and what I’ve learned about them so far.
The Basics - Building A Case and Prepping Your Textblock
Book Press
Having a book press is absolutely essential to the process. I wish I could tell you that placing heavy objects on top of your book would be enough, but it isn’t. You need to really squeeze those pages together. Luckily, book presses are not nearly as expensive as they sound. You could even make one yourself (though my husband said the cost of materials wouldn’t be worth it). Essentially it is just two wooden boards that screw very tightly together. This is one of the tools that I don’t recommend splurging on. No matter which you get, they all have pretty much the same result. Save yourself some cash—that’s what I did! This is the one I use:
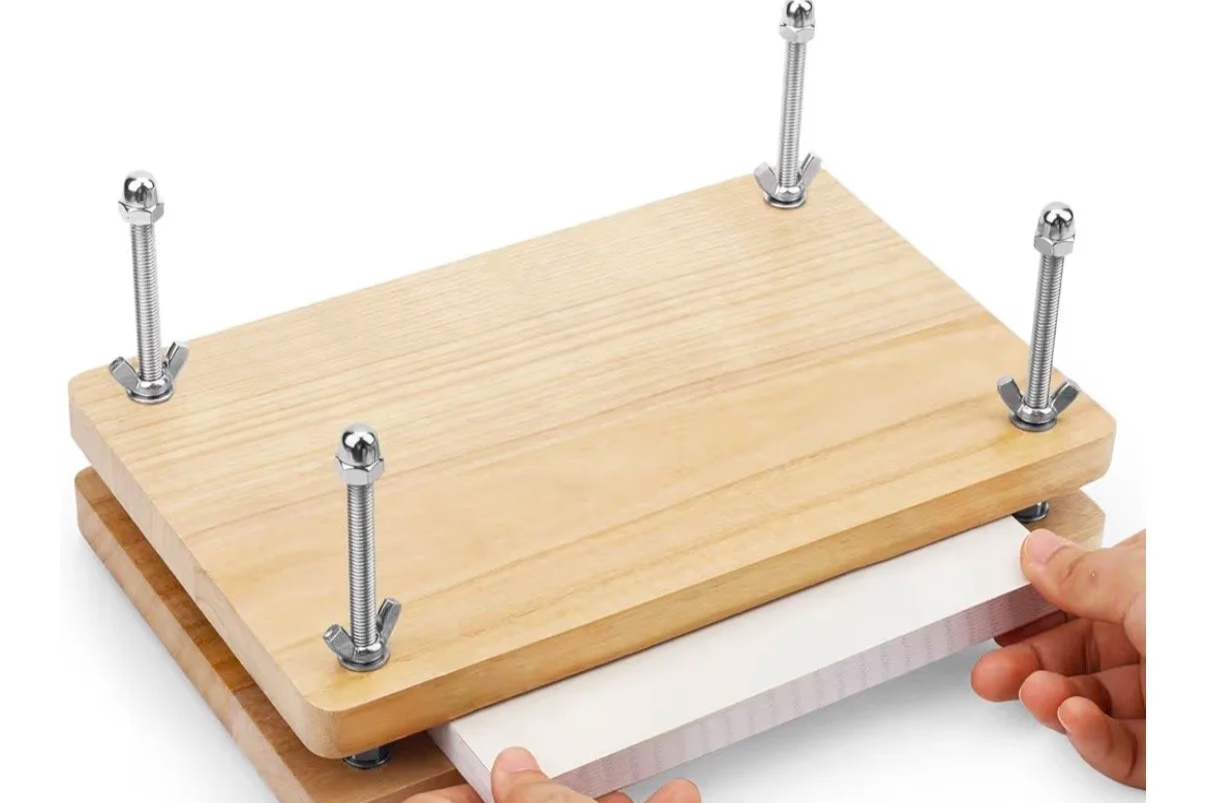
Amazon.com: JUPEAN Book Press—7.9”x11.6” Wooden Book Binding Press Bookbinding Kit Portable and Easy Assemble Books Binding Kits for DIY Bookbinding
Utility Knife
You will definitely need a utility knife, for the purpose of trimming your book board to size. Any decent-sized utility knife will work, just make sure it’s hefty enough to handle the thick book board. This is the one I use:

WORKPRO Premium Utility Knife, Retractable All Metal Heavy Duty Box Cutter, Quick Change Blade Razor Knife, with 10 Extra Blades - Amazon.com
Self-Healing Cutting Mat
This is another tool that I got right away and I’m so glad I did. You will be using the utility knife and rotary blade often, so a cutting mat will be essential. For this, I say the larger the better. I used a small mat for a while, and it was a bit frustrating. When I got a large one, things became so much easier. It is almost the size of my desk, so I just leave it there and do all of my crafting on top of it. Absolute gamechanger.
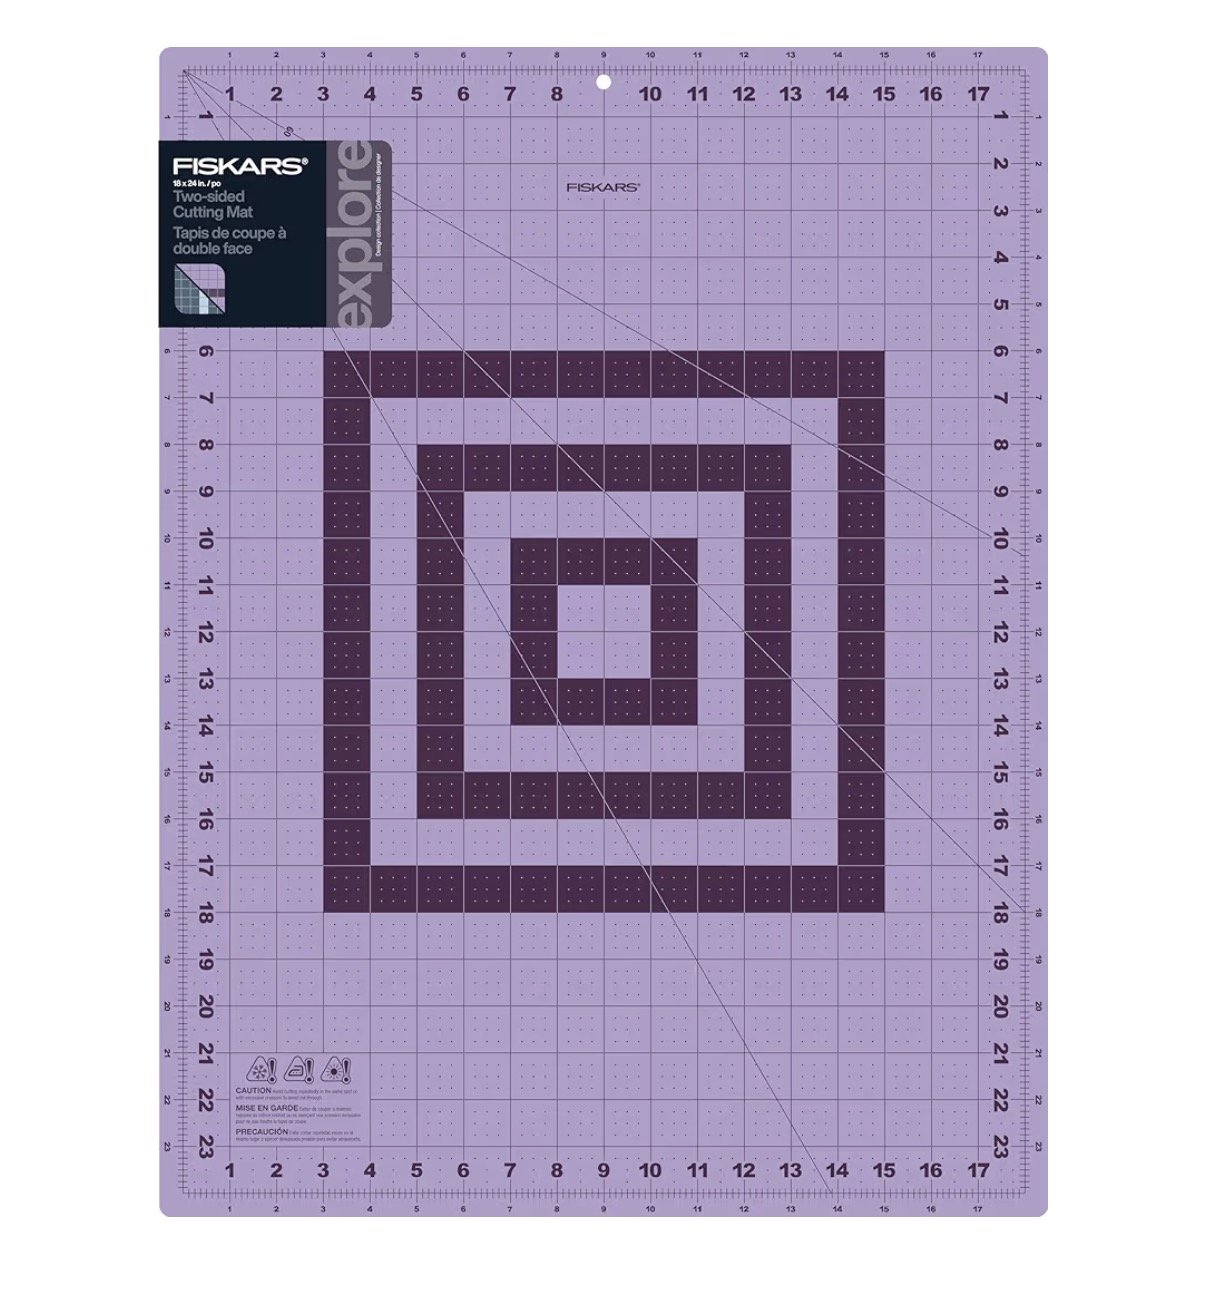
Amazon.com: Fiskars Self Healing Cutting Mat with Grid for Sewing, Quilting, and Crafts - 18" x 24 Grid Lilac/Mountain Haze
Straight-Edge Sliding Cutter
You’ll need to cut extremely straight edges for your end pages. I suppose you could get away with not using one, but you’d have to be crazy precise with measurements. I definitely recommend using one of these to minimize that stress. I also use this to score a straight line on my book board and cut cardstock to use as the hinges. I promise you’ll get a lot of use out of it. This is the one I use:
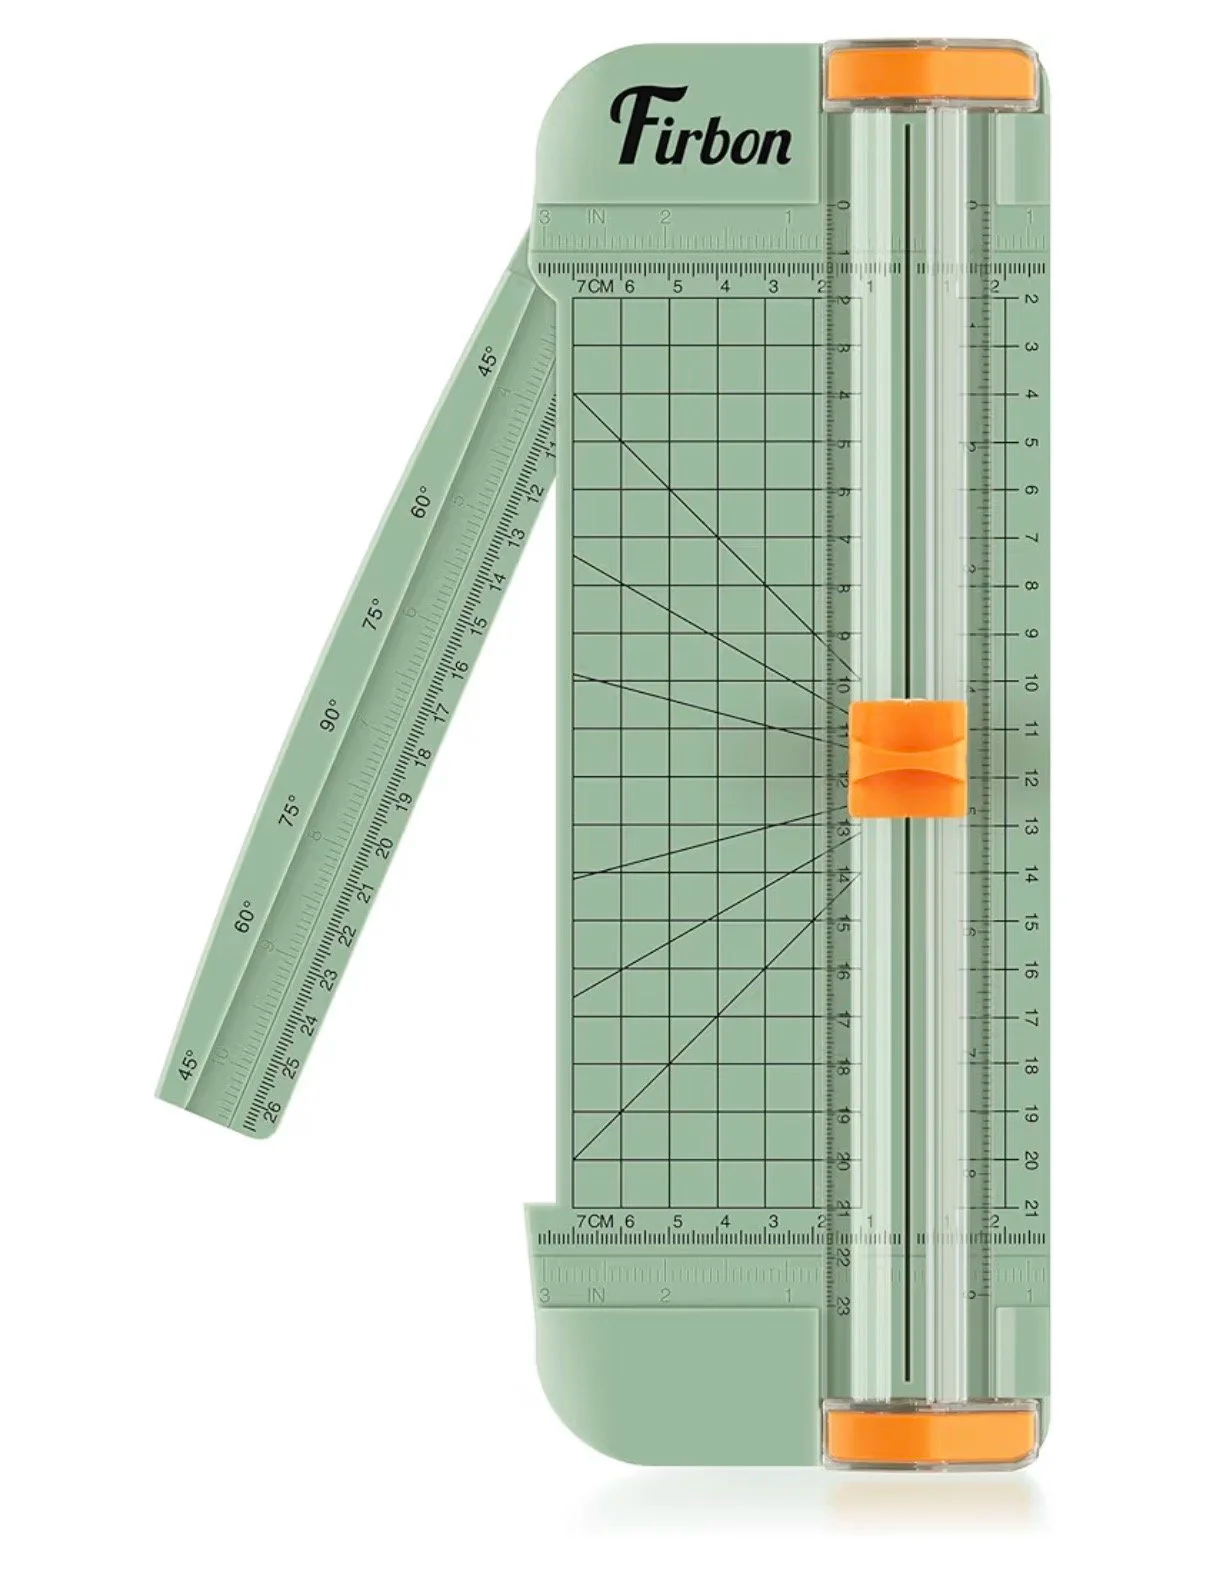
Amazon.com: Firbon A4 Paper Cutter 12 Inch Titanium Straight Paper Trimmer with Side Ruler for Scrapbooking Craft, Paper, Coupon, Label, Cardstock (Morandi) : Office Products
Rotary Blade
This thing has been a godsend. Yes, you could make-do without it. But it has made the process of trimming book cloth and mull cloth so much easier. I mainly use this after I have glued the book cloth to the case, to trim down the sides and corners of the book cloth before folding the edges over. This is the one I use:
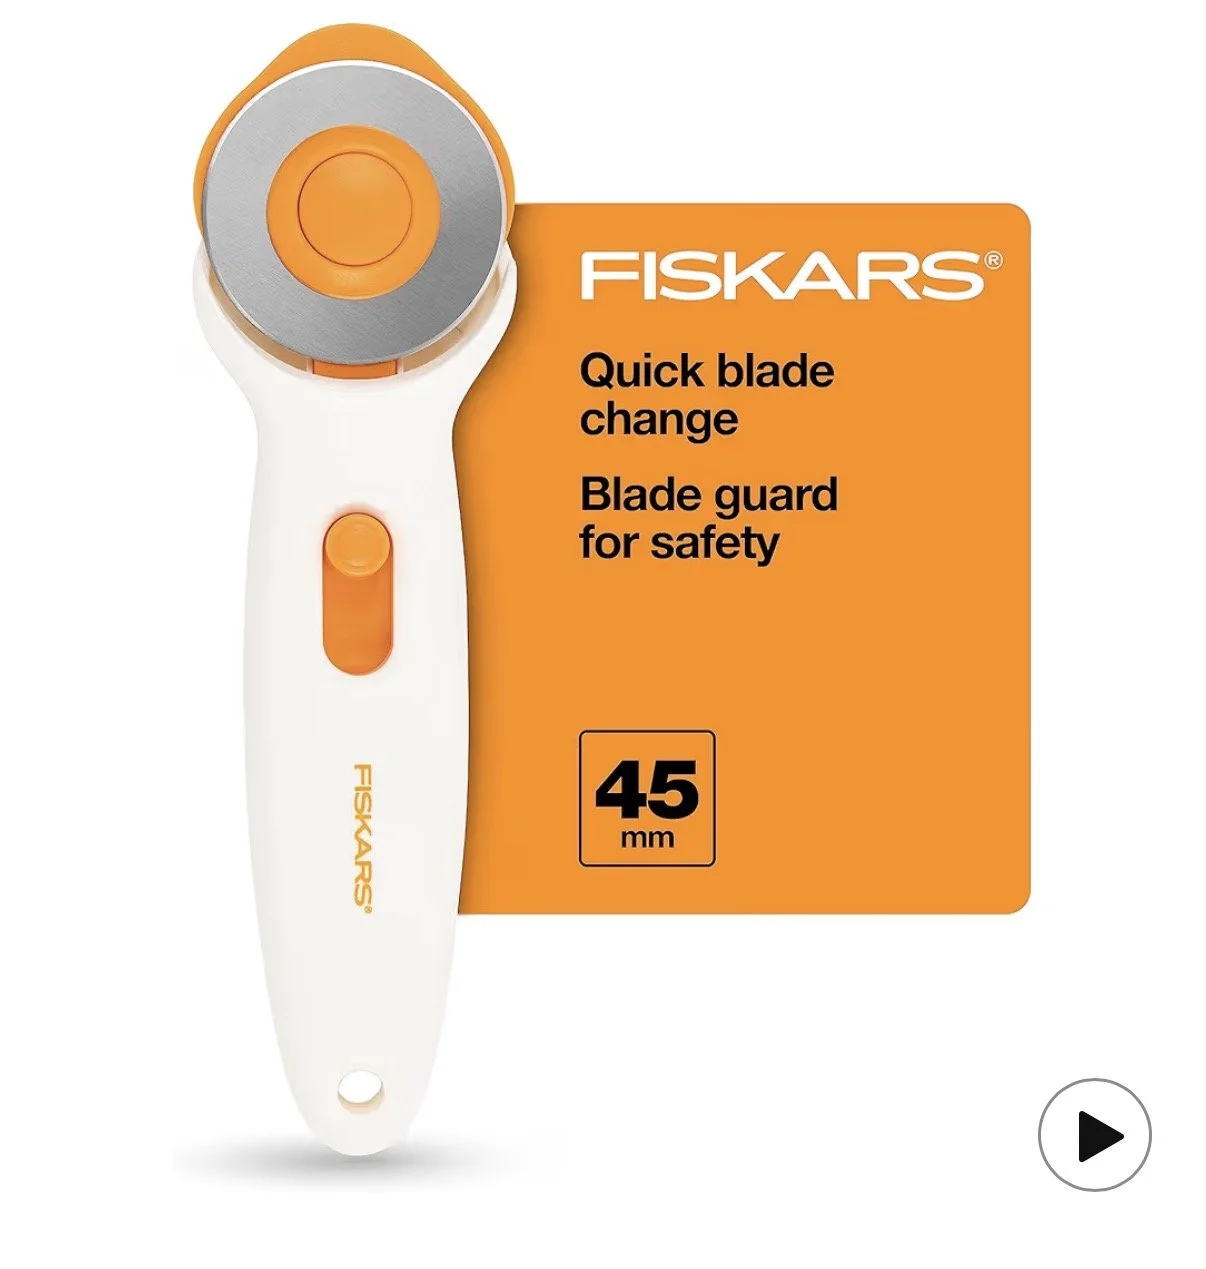
Amazon.com: Fiskars 45mm Rotary Cutter for Fabric, Premium Steel Stick Fabric Cutter Cuts Through Multiple Layers, Right and Left Handed, Easy and Safe Blade Change, Arts and Crafts, Sewing and Quilting Tools
Silicone Brush
You’ll be doing a lot of gluing, so you’ll need a way to spread the glue out into nice thin layers. I suppose any kind of brush would work—bristle, silicone, or foam. I use silicone because it spreads evenly, doesn’t absorb glue, and is super easy to clean (I just let it dry and peel of any excess glue later). I started out just using a small one, but eventually I got a larger one as well which has made a huge difference and saved me time. These are the ones I use:
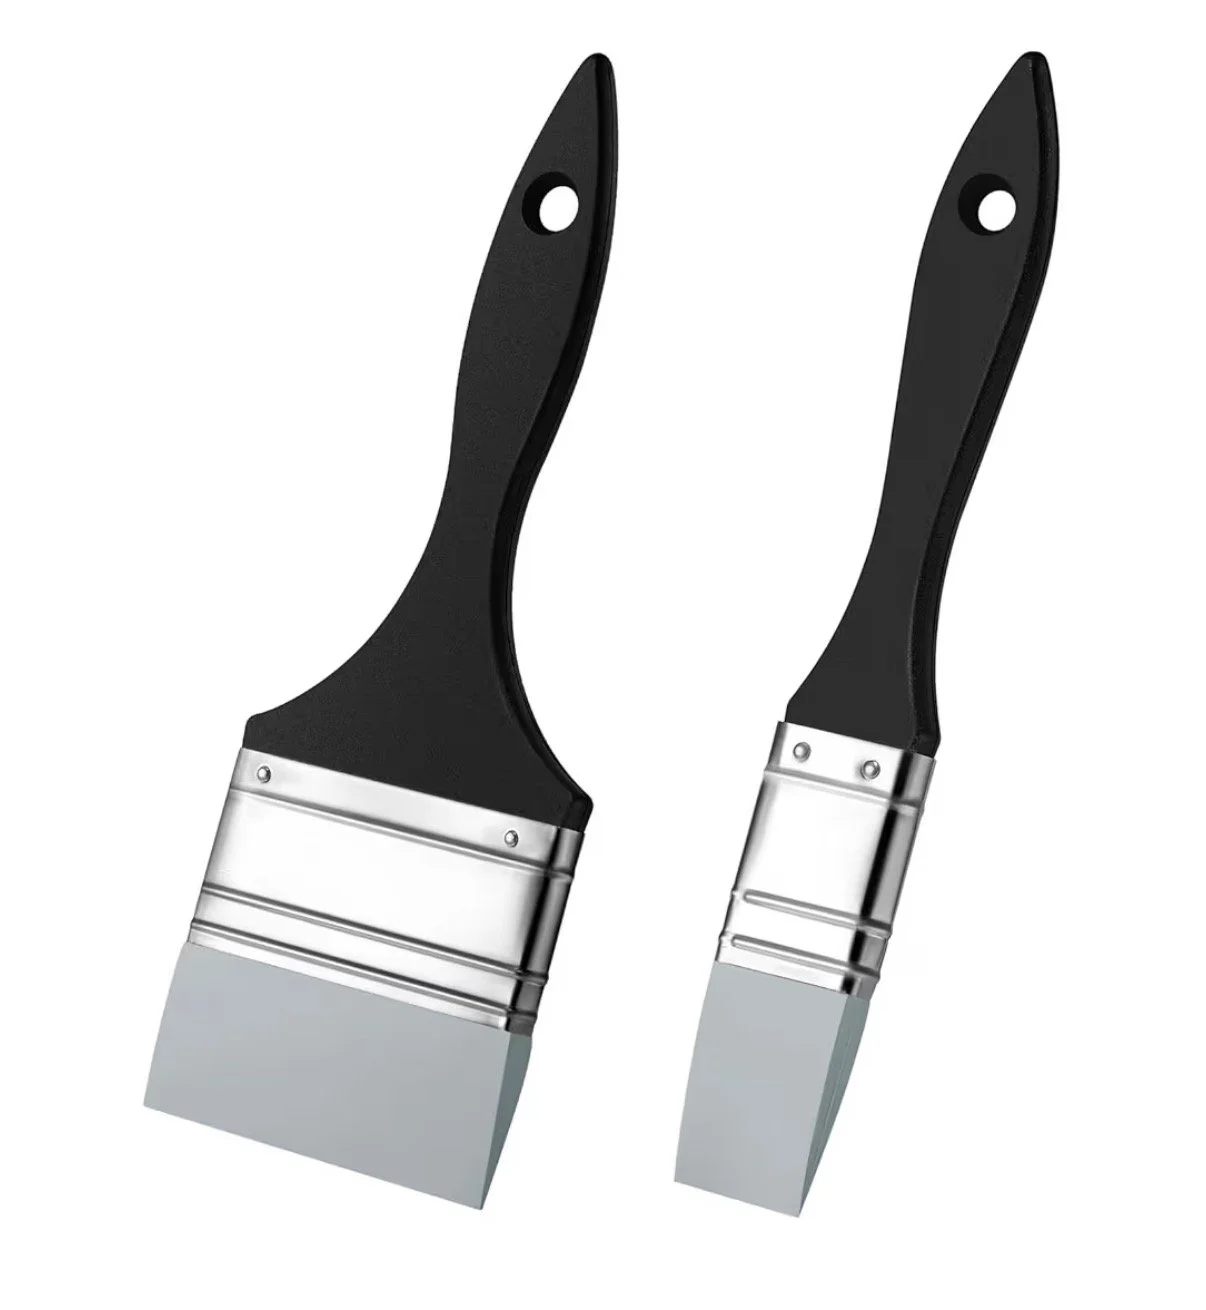
Amazon.com: csjzzt Pieces Silicone Painting, Silicone Color Shaper Brush,Solid Flat Flexible Acrylic and Water Based Painting Tool for Move and Remove Acrylic Paints, 2 Pcs (1 inch,2 inch)
Bone Folder
I had actually never heard of these before getting into bookbinding, but it is so helpful. This tool is used for a couple different things. Firstly, it helps you fold paper very crisply by running it against the folded edge. It also will be used for smoothing the book cloth onto the book board and making sure it creases along the hinges. I recommend getting a sturdy one!
Amazon.com: DEEDYGO Genuine Bone Folder Tool – Scoring, Creasing, Folding & Burnishing for Paper, Card & Leather Crafts, Perfect for Origami, Scrapbooking, Bookbinding & Crafting | 100% Cattle Bone
Ruler
This one is pretty self-explanatory. You’ll want straight lines. The thing I use my ruler most for is trimming the edges of the book cloth to 1 inch of overhang after the book cloth is attached to the front of the book board.
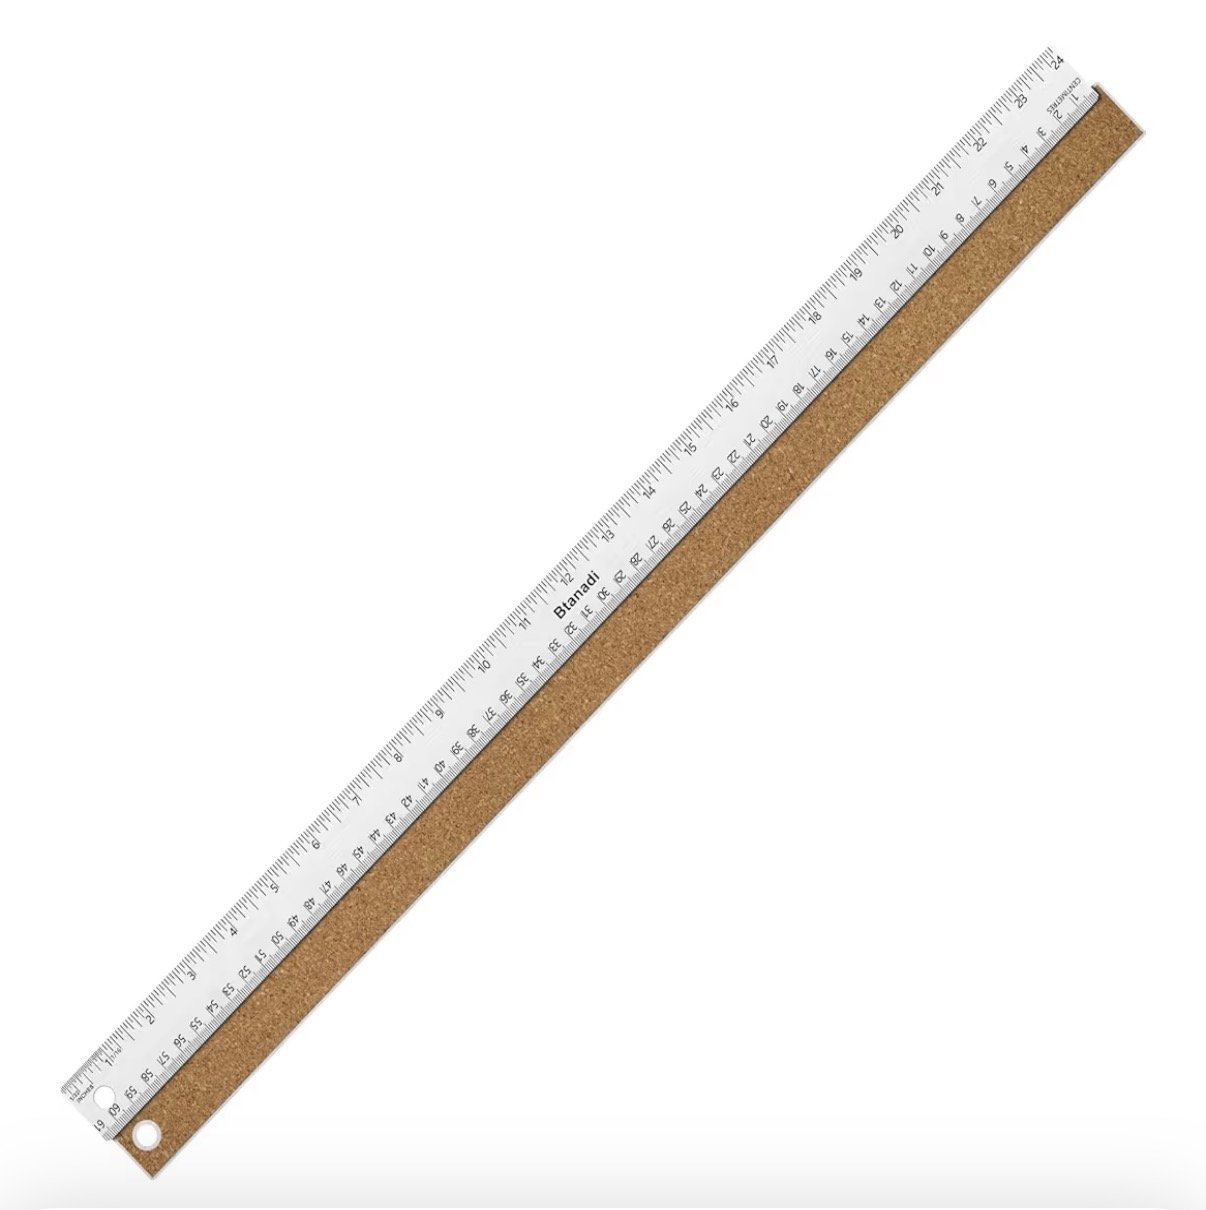
Amazon.com: Boompark 24 Inch Metal Ruler, Stainless Steel Straight Edge Ruler with Cork Backing, Non-Slip Imperial & Metric Measuring Tool for School, Office, Woodworking, Drafting : Office Products
Spacer Tools
Spacer tools are great! They make it so much easier to measure your hinges and make sure everything lines up. I usually use 7mm-9mm spacers depending on the size of the book. These are the ones I have:
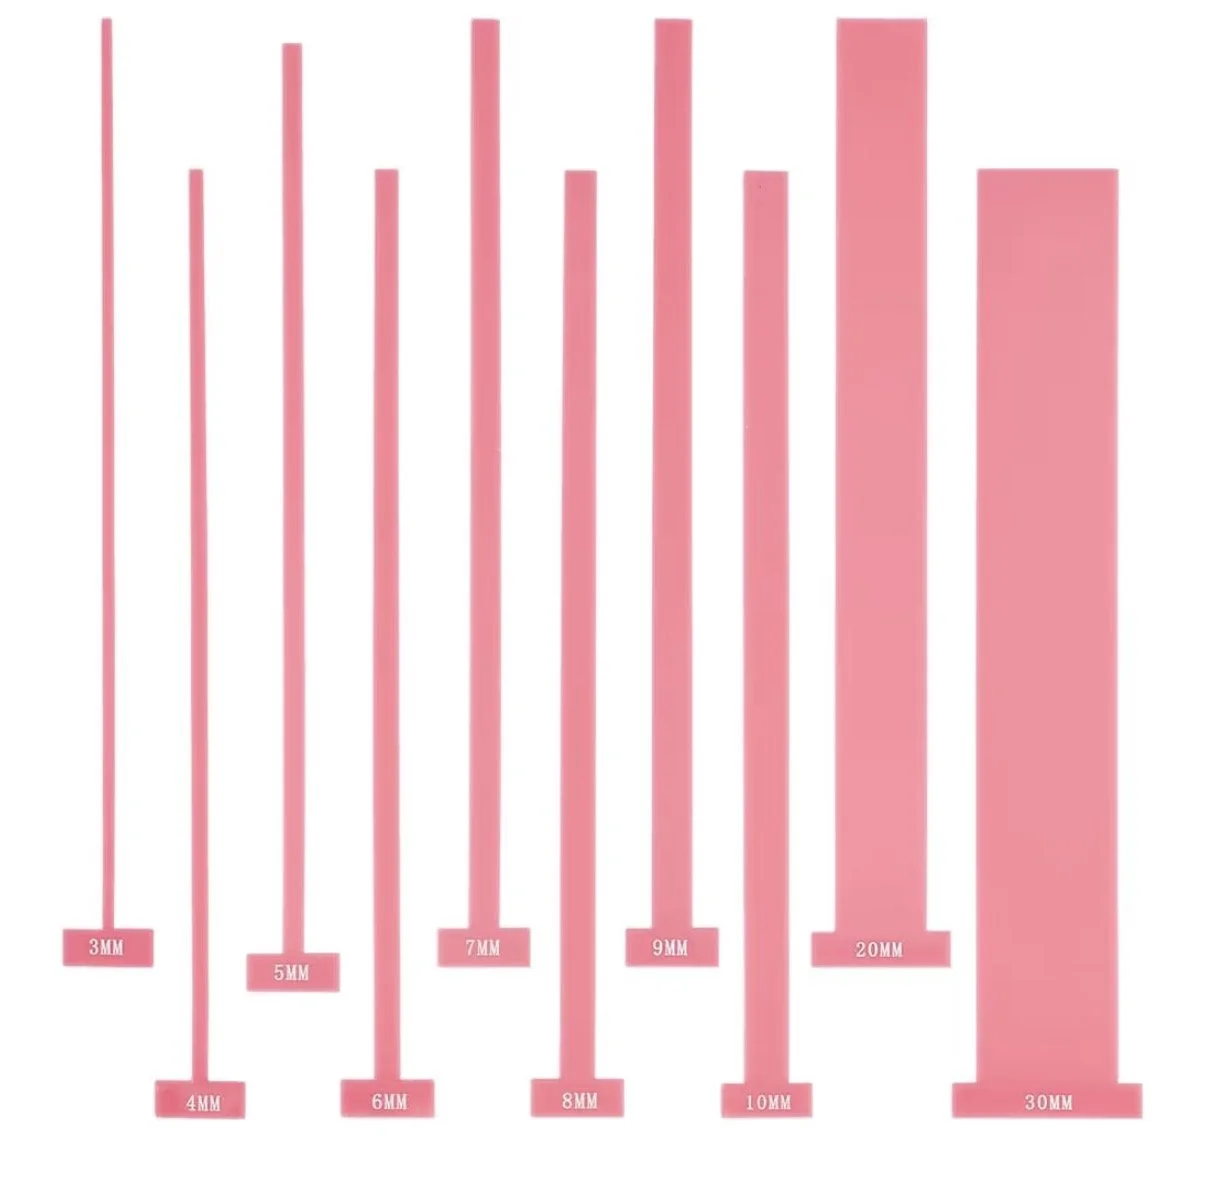
Amazon.com: BENECREAT 10pcs Acrylic Bookbinding Spacer Tools, Pink T Shape Straight Edge Book Binding Kit for Making Books with Double Cover Structure, Album Cover, 3/4/5/6/7/8/9/10/19.5/29.5mm
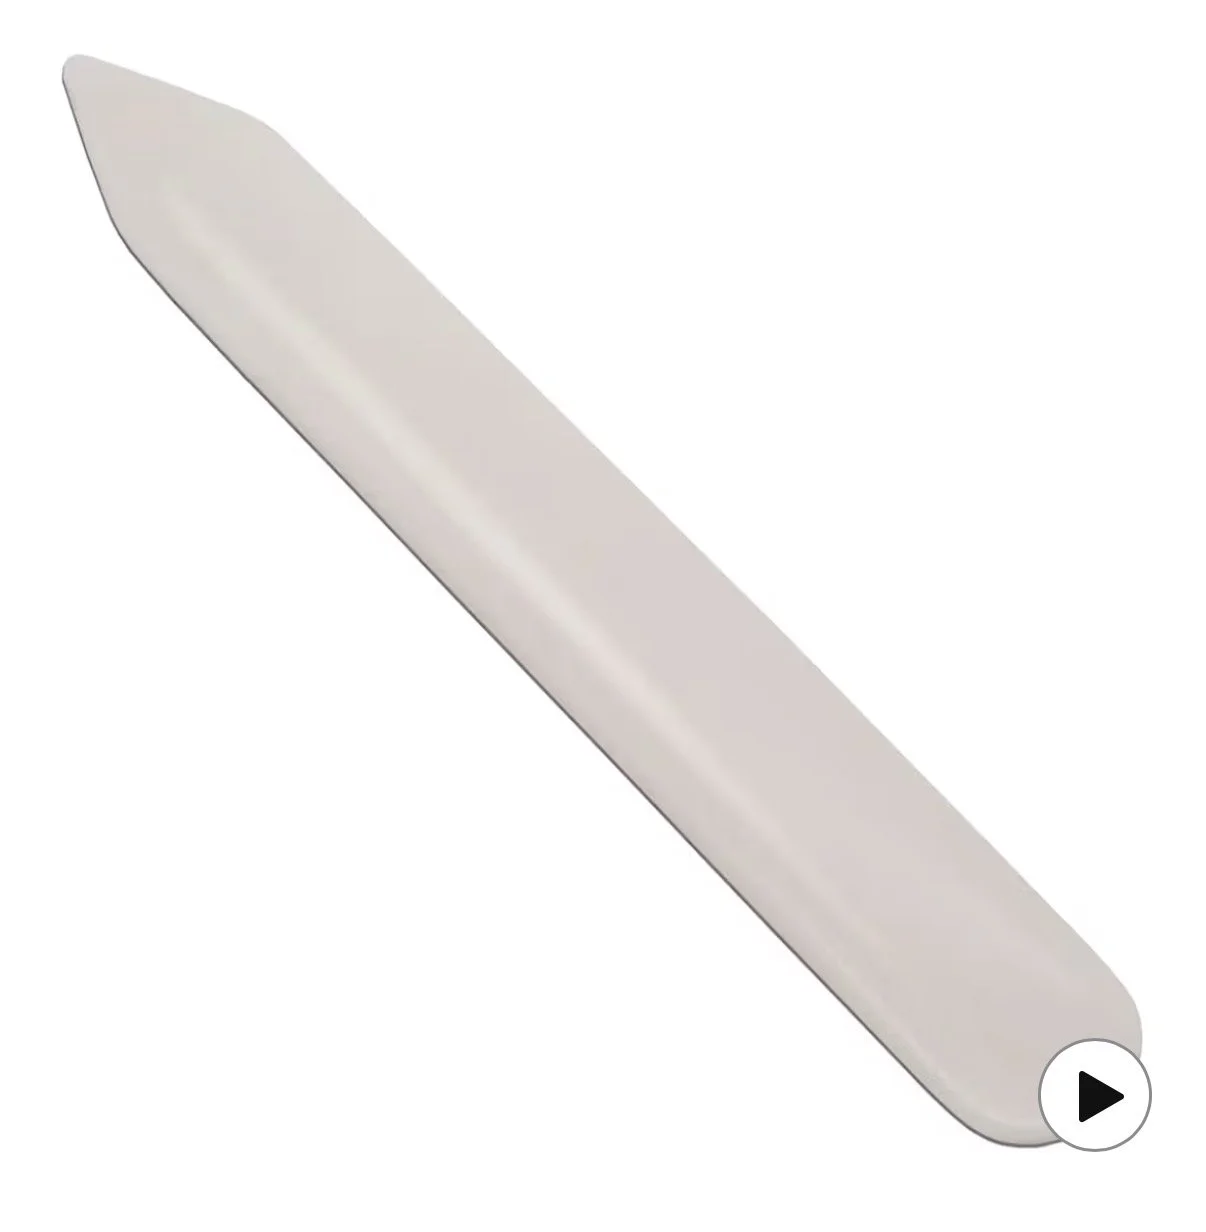
Corner Tool
This is what I use for trimming the corners of the book cloth before I wrap the overhang around the book board. I tried going without one for a while, but I do not recommend that. If you don’t want the corners of your book board showing, get a corner measuring tool. The one I have came from the following set, but I’m sure they can be found on their own as well.
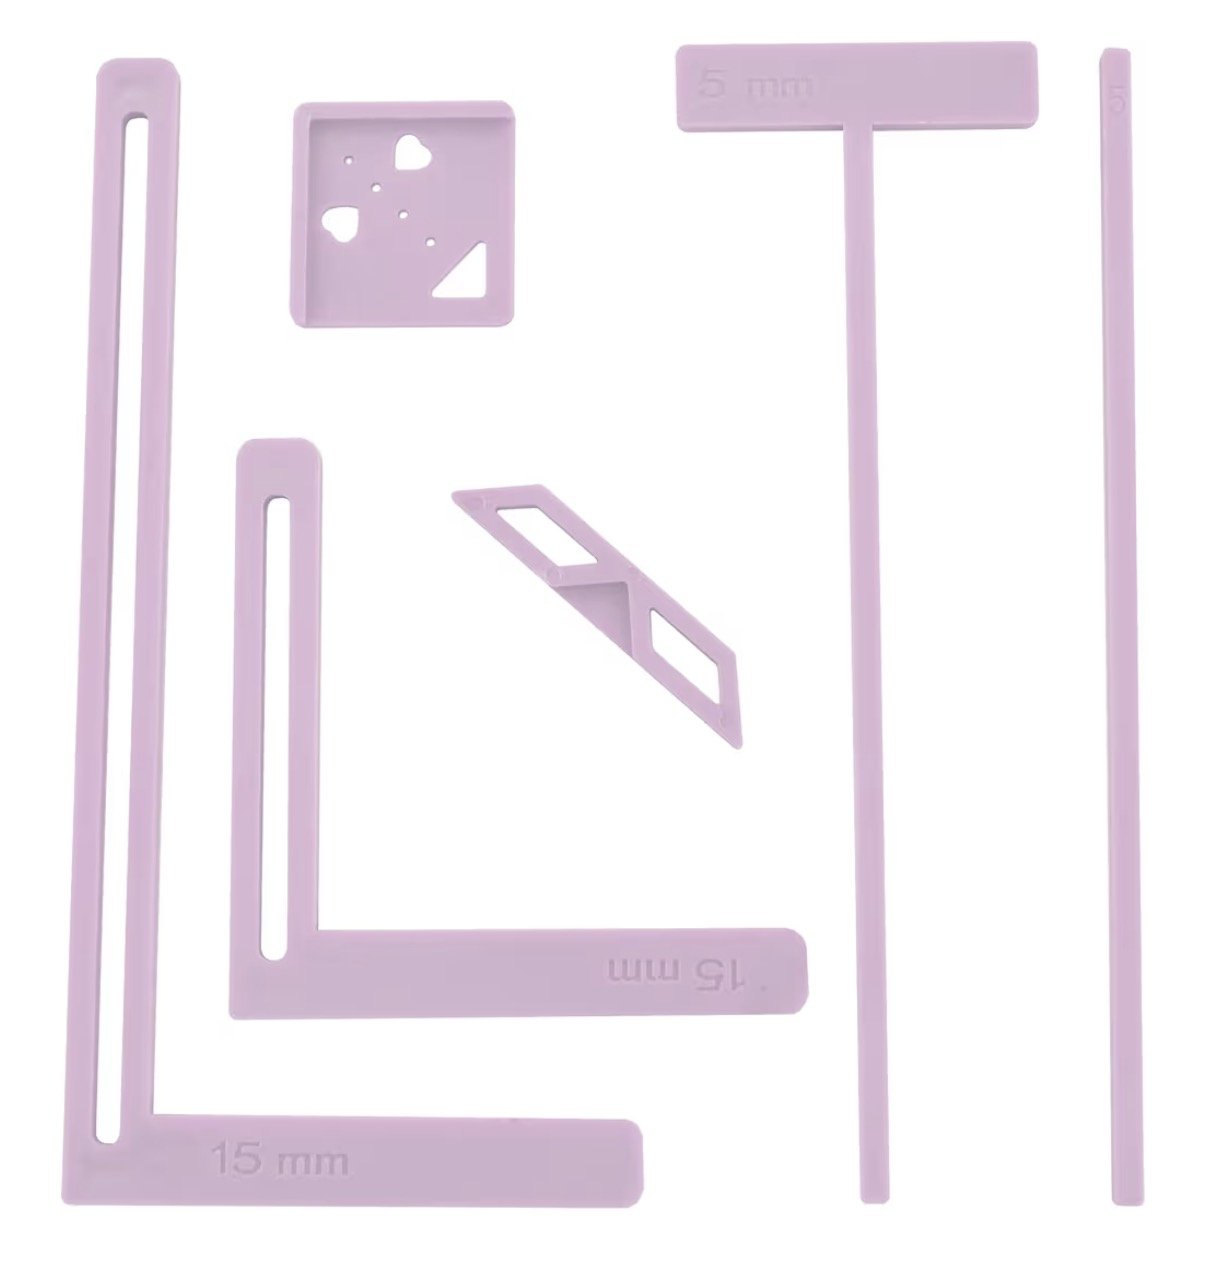
Amazon.com: UPTTHOW 6Pcs Bookbinding Easy Scrapbooking Tool for Starter, Complete Great Stencils and Cutter Guide Kit Can Be Made into Notebook Calender Junk Journal Handbook : Arts, Crafts & Sewing
Designing Your Cover
Cricut or another cutting machine
This is how you will cut your letters/designs out of the heat transfer vinyl. It is magical and I’m so glad I bought one. Technically you could get away with not using one if you pre-printed your design onto the book cloth (that’s what I did for my designs such as Once Upon a Broken Heart and Alchemised), or if you purchase your vinyl pre-cut by me (yes, I do offer that!). But if you want to cut your own vinyl, you’ll need one.
I have a Cricut Maker 3 that I got secondhand and it has been great. There are other brands of cutting machines such as Siser and Silhouette, but I don’t know enough about them to advocate for either. One thing I will say about Cricut is that they make it very difficult to repair any parts. It took us 3 hours to disassemble the entire thing with 20 different tools, just to fix one part on the front!
But other than that, it has had no issues. It is connected to a program called Cricut Design Space where you can upload your designs and size them however you’d like. Then the Cricut will do its magic!
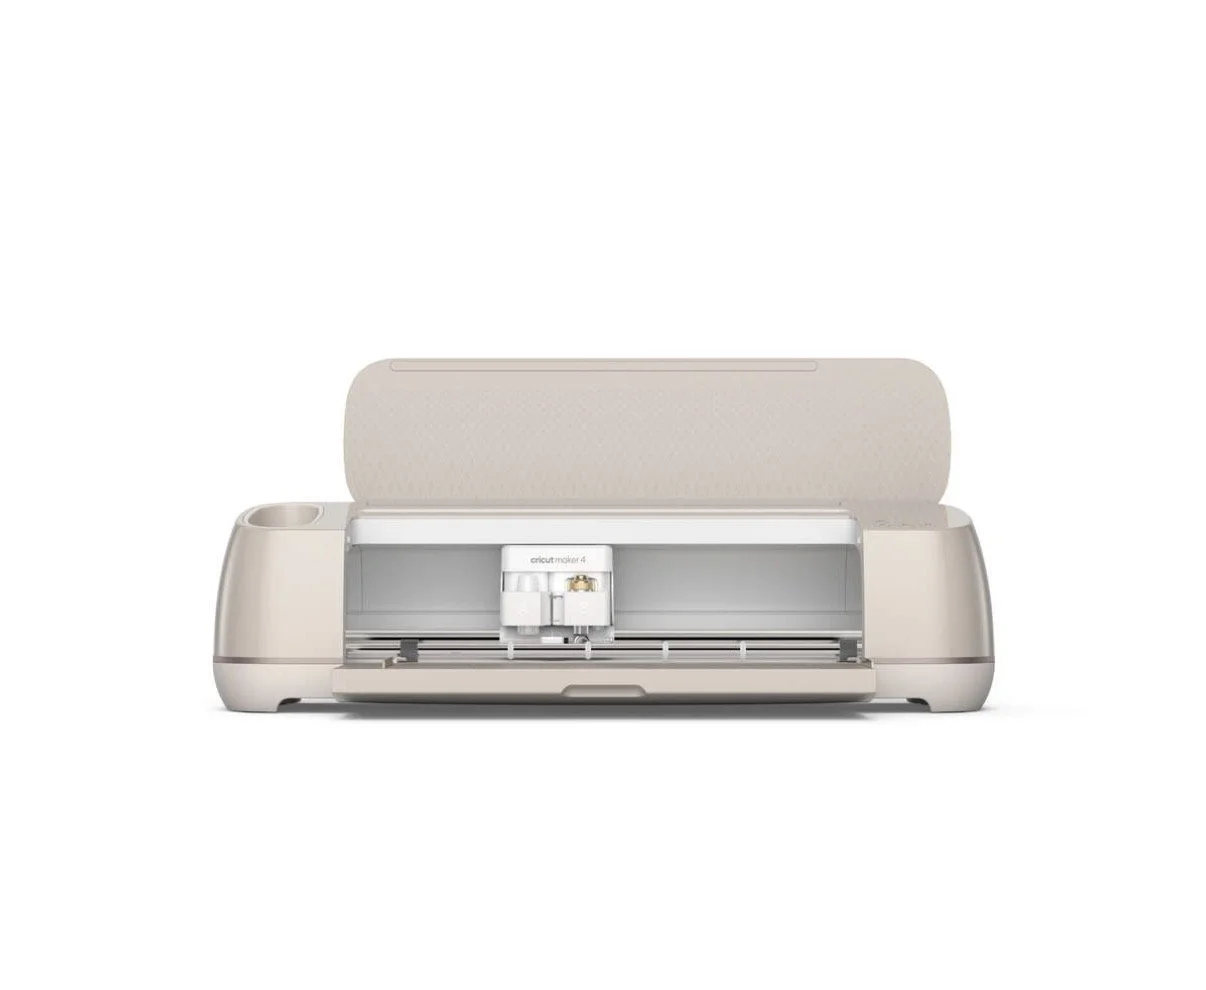
Cricut Maker® 4
Weeding Tool
Oftentimes your Cricut will come with one of these, but they are also super easy to get on their own. This is what you will use to remove the background from your vinyl design so only your design remains. It can be very frustrating and tedious when your design is too small or intricate, but it can also be strangely satisfying. I also have a tool I wear on my fingers to collect the scraps of vinyl easily. I’ll link that below as well.
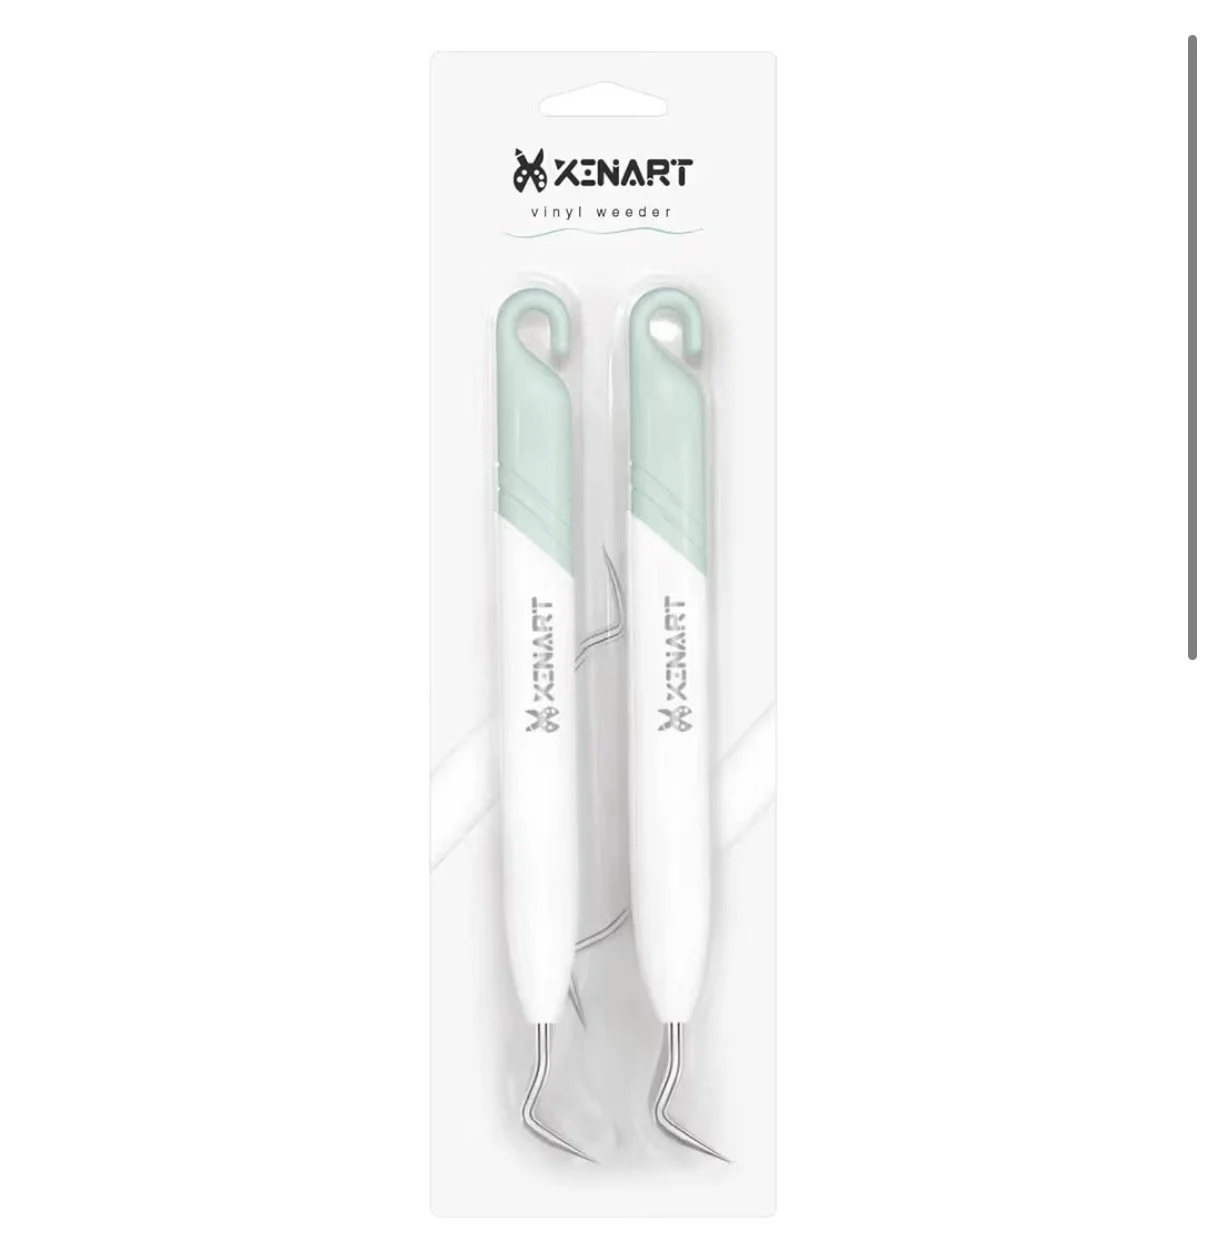
Amazon.com: Xinart Vinyl Weeding Tools Set 2pcs Weeder Tool Kit for Heat Transfer Vinyl HTV Paper Craft : Arts, Crafts & Sewing
Heat Press
Once you have your vinyl design ready, you’ll attach it to your cover using a heat press. I’ve been asked before if a household iron would work, and to be honest I’m not completely sure. I started out using one but the heat and pressure were not super consistent and I had very mixed results. I would definitely recommend investing in a real heat press. I’ll link a few different ones, for different budgets (the bottom one is the one I use). An important thing to note is that HTV requires a good amount of pressure to be put on it for the best results. Another tip I’ve learned is to take breaks after every 10-15 seconds of using it, and let the HTV cool a bit in between. I also recommend using Cricut brand vinyl, it may be more expensive, but it has saved me many meltdowns.
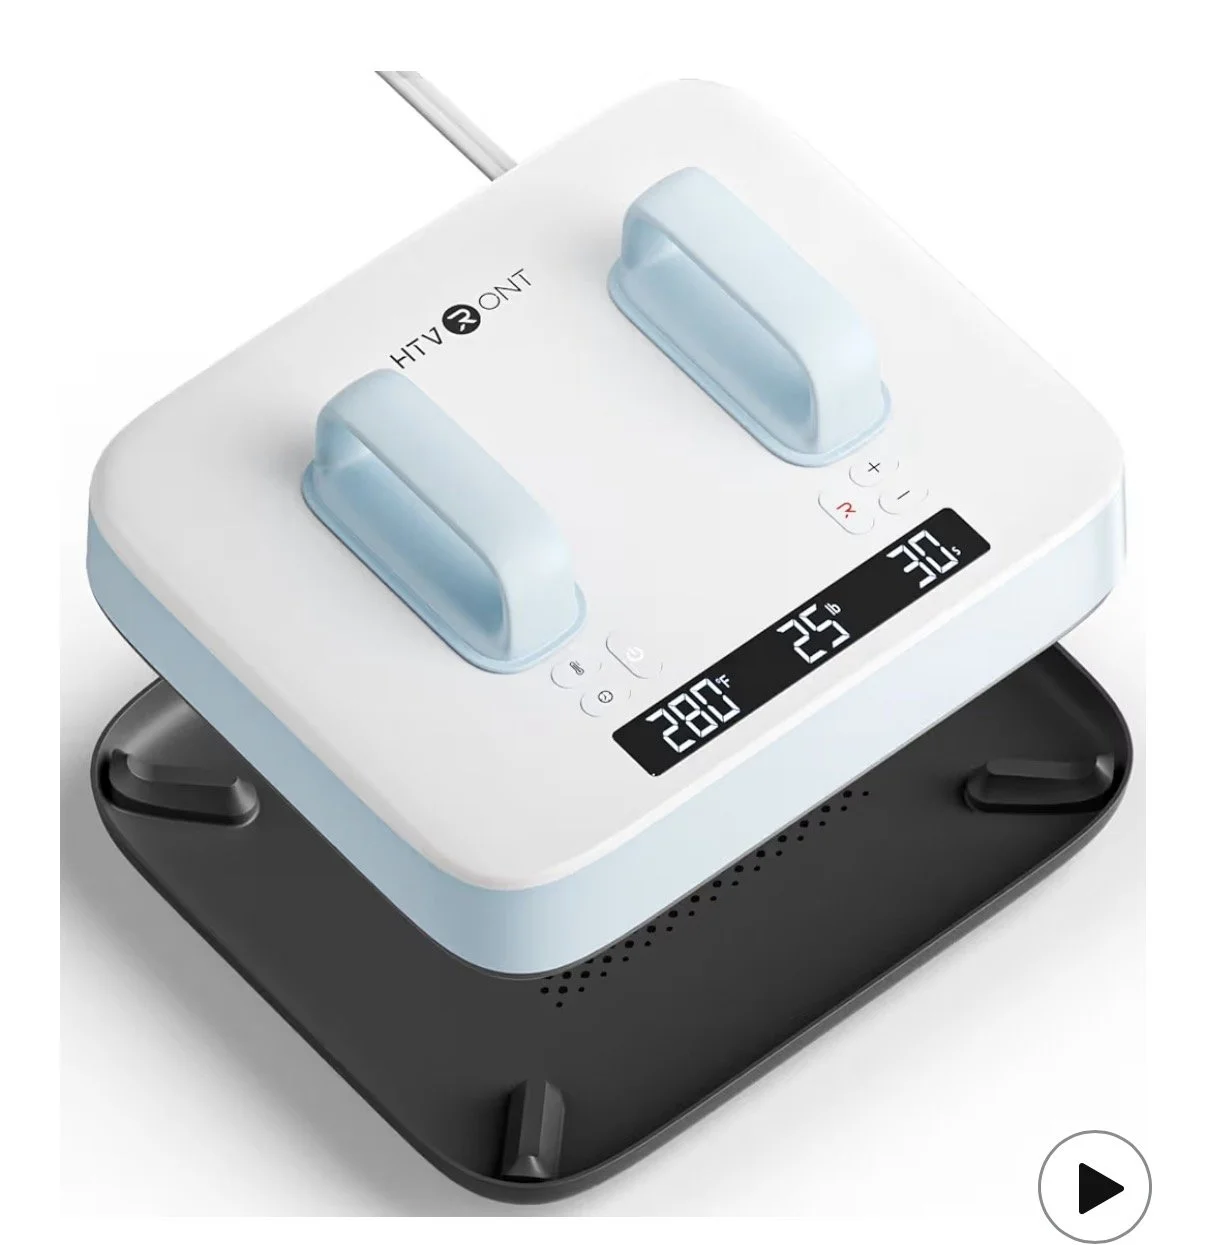
Amazon: HTVRONT Heat Press Machine for T Shirts - Portable 12X10 Heat Press with Pressure Display, Heats Up Fast & Evenly H10 Heat Press Machines for HTV, Sublimation, Heat Transfer Projects

Amazon.com: HTVRONT Heat Press Machine for T Shirts - 15x15 Swing Away Shirt Press Machine - Professional Heat Press for Sublimation, Vinyl, Heat Transfer Projects, Heats Up Fast & Distribute Heat Evenly (White) : Arts, Crafts & Sewing
I feel like I’m missing something, but maybe I’ll remember later and come back to update this. Hopefully it helps!
Love ya,
Madi